These little sweethearts are so popular at the moment, they're springing up everywhere!
Here's a quick little tutorial to show you how you can make them with scraps and leftover pieces of paper!
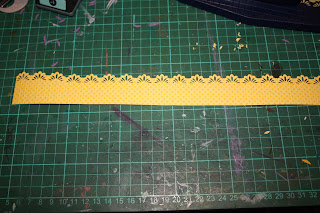
First of all, you'll need a strip no more than 1 1/2 inches wide. Score this all the way along at 1/4 inch intervals (boring, yes, but necessary and worth it!)
If you're doing a lot of the same colour, score the whole sheet, and then cut it up into the 1 1/2 inch wide strips to save some time.
If you want to, punch along the edge using a border punch
(or you can use those decorative edging scissors that were everywhere a few years back if you've still got a pair kicking around).
Concertina fold your strip of paper.
Glue it end to end, and while that's drying, punch out 2 x 1 inch circles. You can use buttons or whatever for these, but when I'm making a stack of them, punched circles are a lot more cost effective.
Smear glue over both your circles, then gently push the straight edge of the concertinaed strip into the centre, to form a flat circle, which is centred over the gluey dot.
Pop your other dot over the centre of the top side, and hold for a few seconds until the glue catches.
Sit back and feel awesome because you've created something beautiful! :)
Here I used a variety as "flowers" in a vase for a display for the local show. (sorry about the blurry pic!) I often have them hanging on strings, or just stuck down as an embellishment on a page or card. They're so versatile, on trend, and easy to make at home!
Happy Scrapping!
Rita


No comments:
Post a Comment